


Well guys, Webflow has absolutely changed the game when it comes to 3D websites. You no longer need to be a genius to pull these off. In this article, I'm going to show you how I created something as simple as this site with a very cool hovering animation and scroll animation. So, we're going to take a look at how we can accomplish this using the new spline feature.
Alright, let's break it down into bite-sized steps so you can start slinging some seriously slick 3D magic on your own sites.
Adding interactive 3D to a Webflow site takes seven steps using Spline's new integration. Pick a 3D object from Spline's free library, learn the interface, and tweak scene settings by removing the logo and background for a transparent PNG look. Export at the default 1920x1080 canvas, set Mouse events to Global for interactivity, then embed in Webflow by typing the spline command (Cmd+K) and pasting the scene URL. Publish to let visitors interact with the 3D scene.
Part of our guide: Webflow Guides
Want 3D on your own site? Macu Studio offers 3D website design and Webflow animations, as a project or on a retainer.
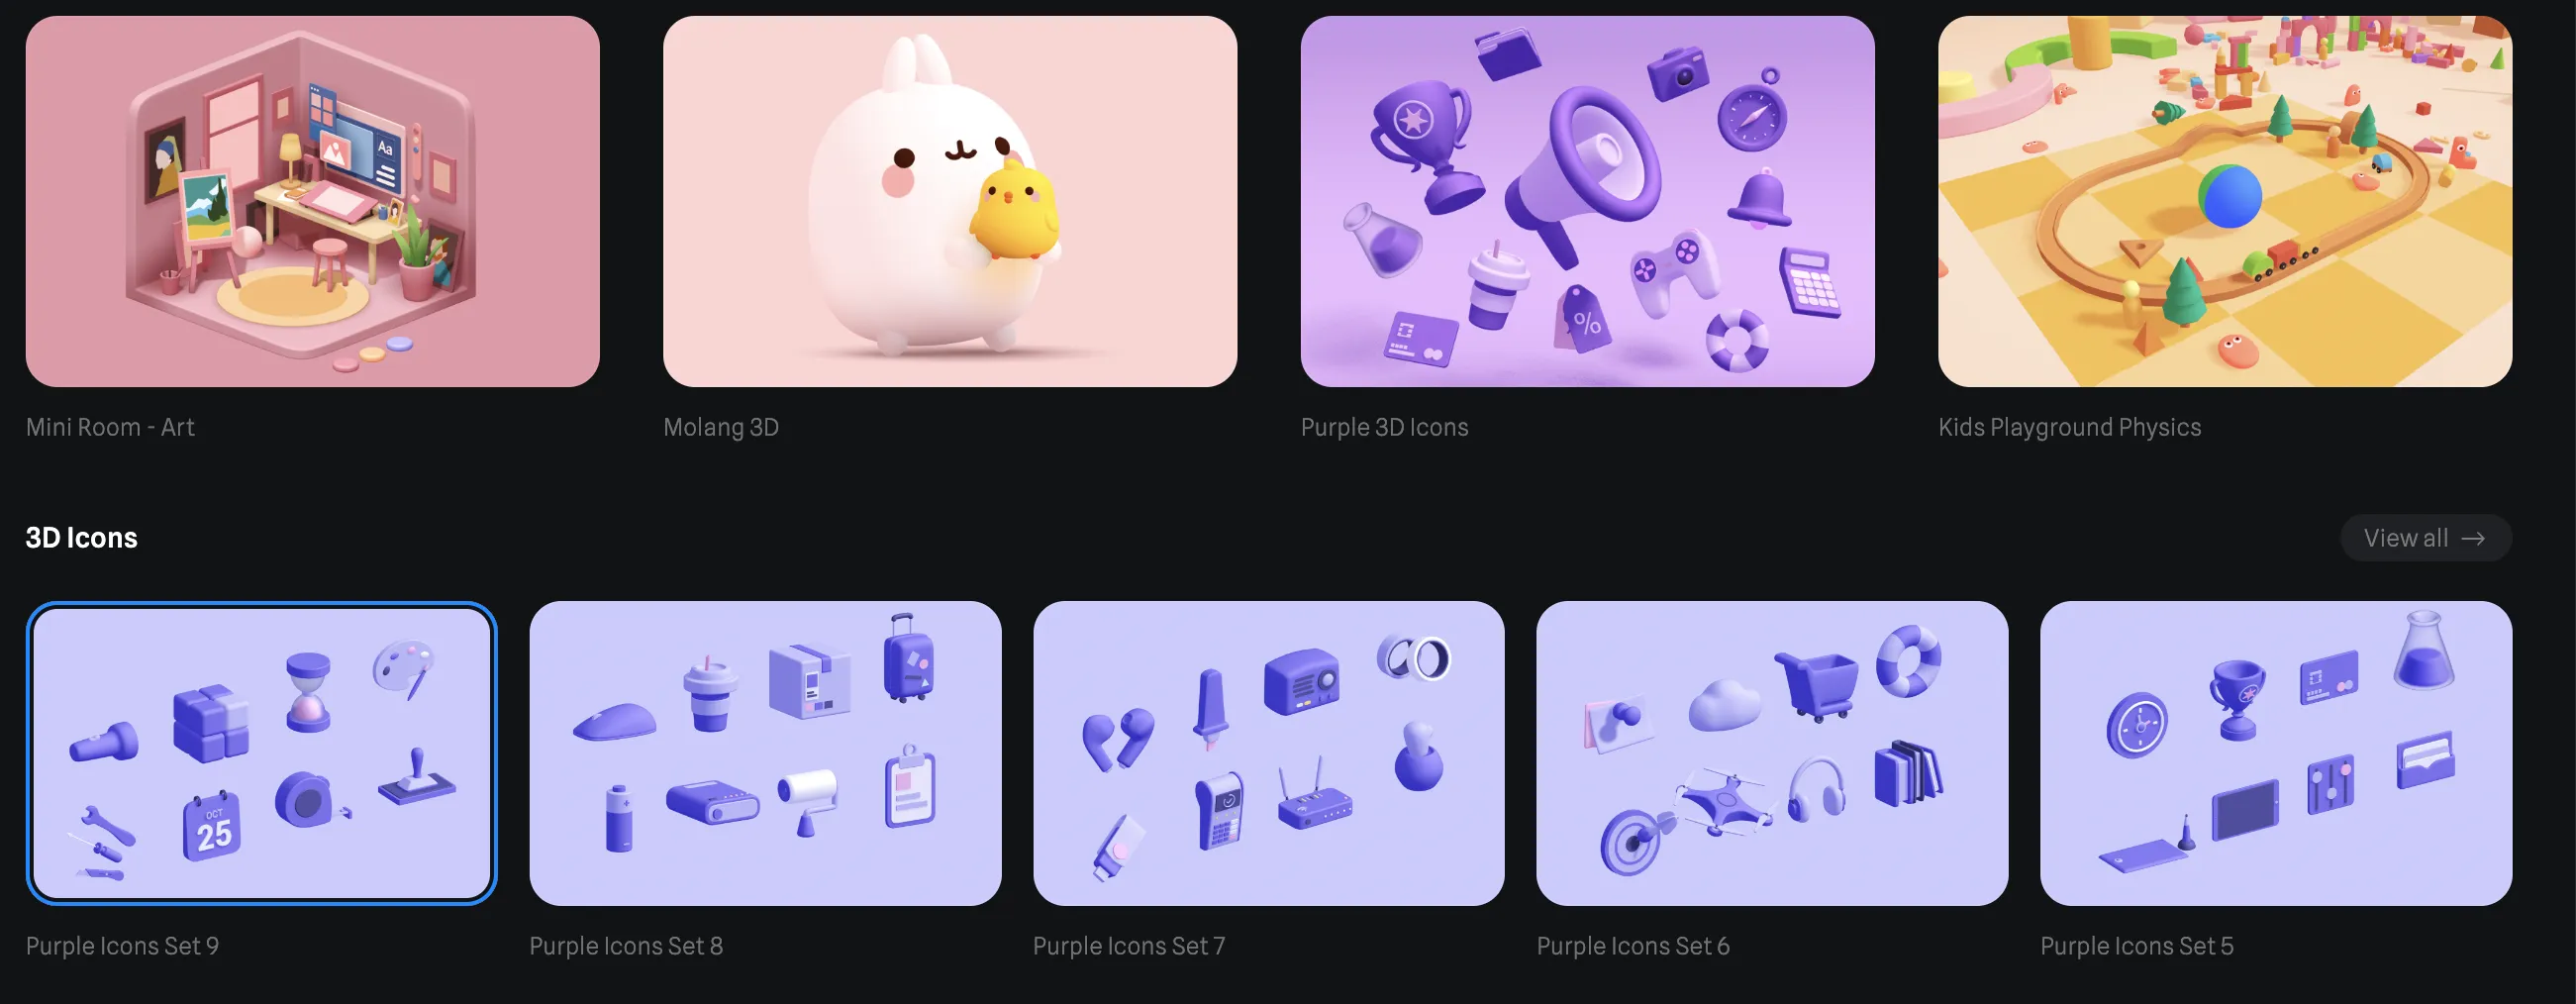
Now, if you dive into spline with a completely free account, you have all of these elements inside the library. I picked this weird bubble to create my own scene, but I've dived into it before, so spline is a little more natural to me due to my background with 3D design. If you're not familiar with it, no need to fear because it's quite a simple program to learn and be decently good at without mastering it.
The first thing we're going to look at is that there are all these different elements on the left side, which are our layers or different objects in the scene. On the right side, we have the actual scene itself with elements like light, play camera, and background color. You can change the color to whatever you want, but in this case, we won't need one because this can be exported without any backgrounds.
Let's take a look at the object itself. It's just a weird shape with a point light and directional lighting. When you go into export and check the play settings, there are a few different things to toggle to get this kind of effect. Getting rid of the logo and background color allows you to achieve a PNG feeling. Enabling or disabling page scroll is another option. Cursor as well, default orbit, and here comes the cool part.
When you hit export, ensure that you toggle the right settings to get that clean, PNG look without the background, cause let's be honest, sometimes less is more. By default, the canvas size is set to 1920 x 1080 which could be perfect for exporting this scene as a wallpaper for your computer or phone.
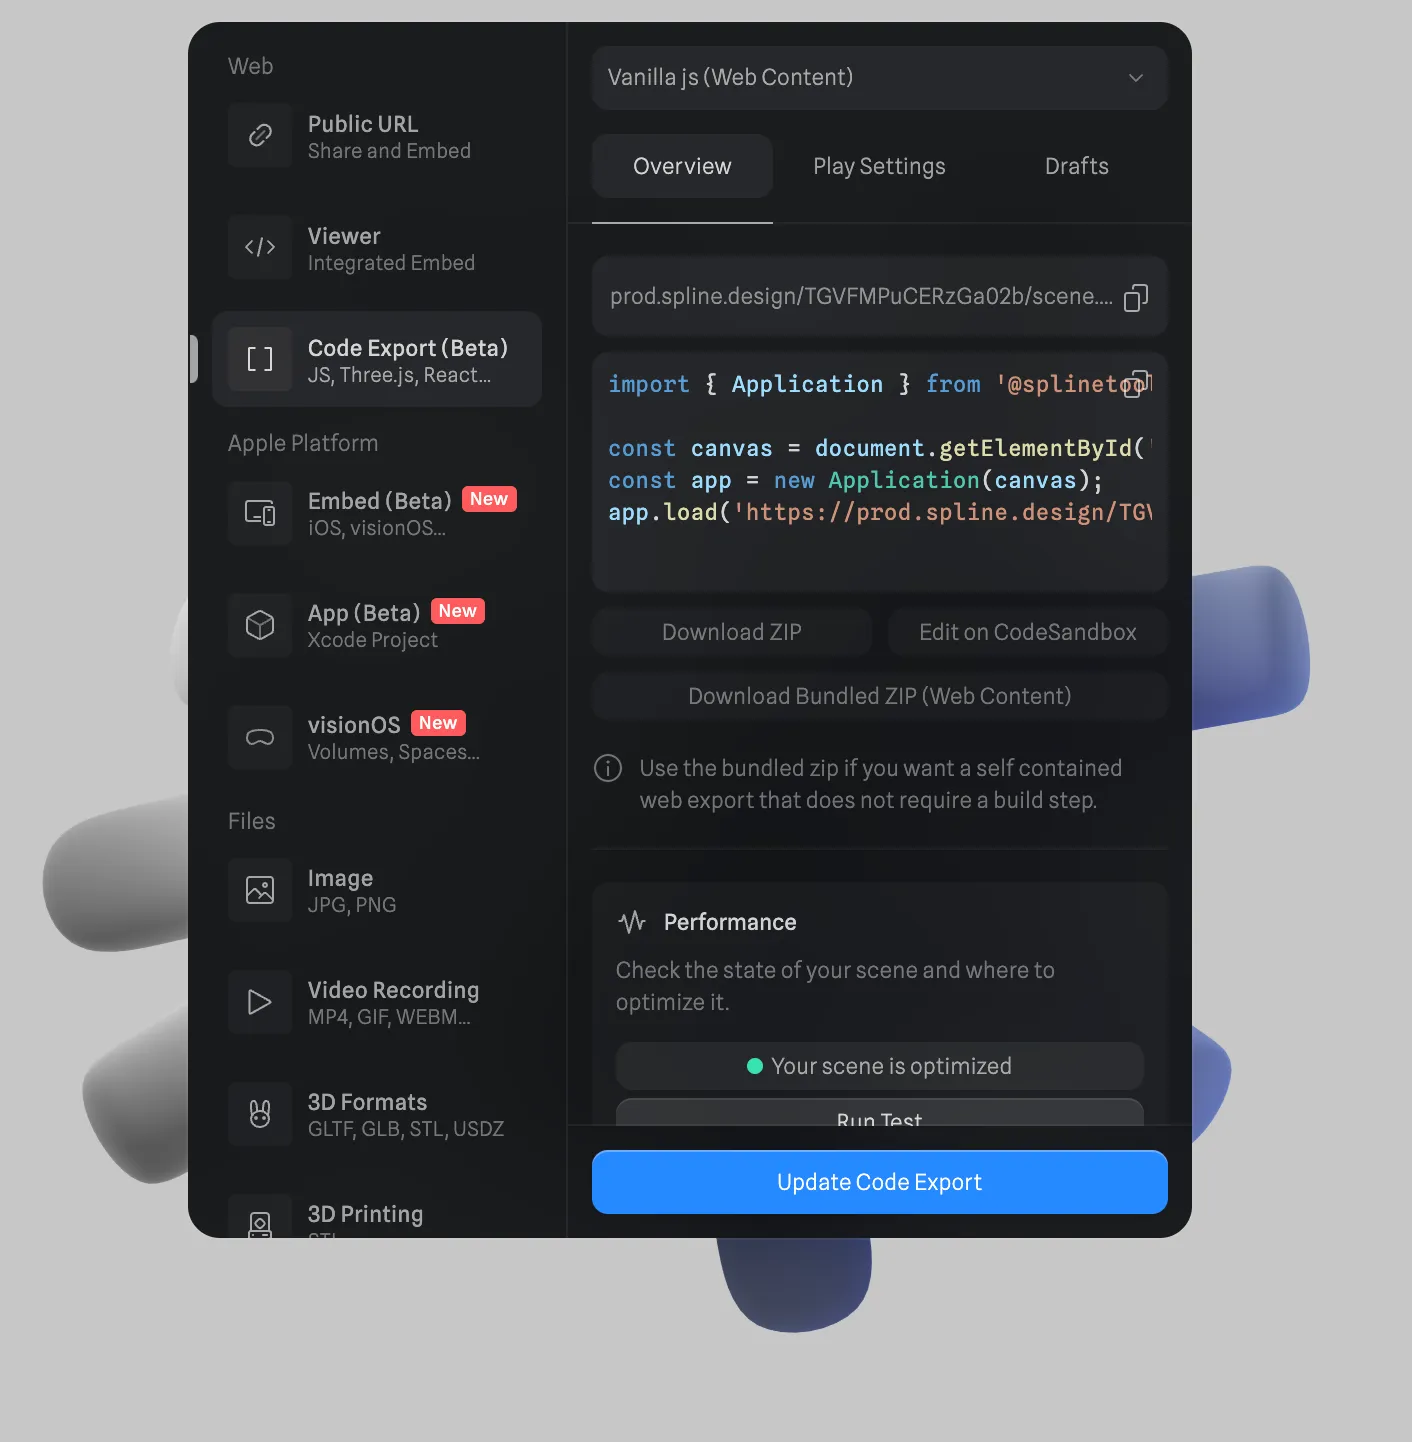
Get those objects dancing on your screen by adjusting Mouse events to Global. This lets your site visitors interact with the objects, putting them in the web-designer's seat.
Copy the link of your beautifully edited scene, and simply paste it into Webflow's new layout UI. Type spline command K and drop in that URL like it's hot.
Once you publish, sit back, and watch people interact with your creation. It's like throwing a rock into a pond and watching the ripples, only way cooler because it's 3D.
There you have it. You're now armed and ready to jump into the world of Webflow and Spline, creating interactive sites that'll have everyone talking.