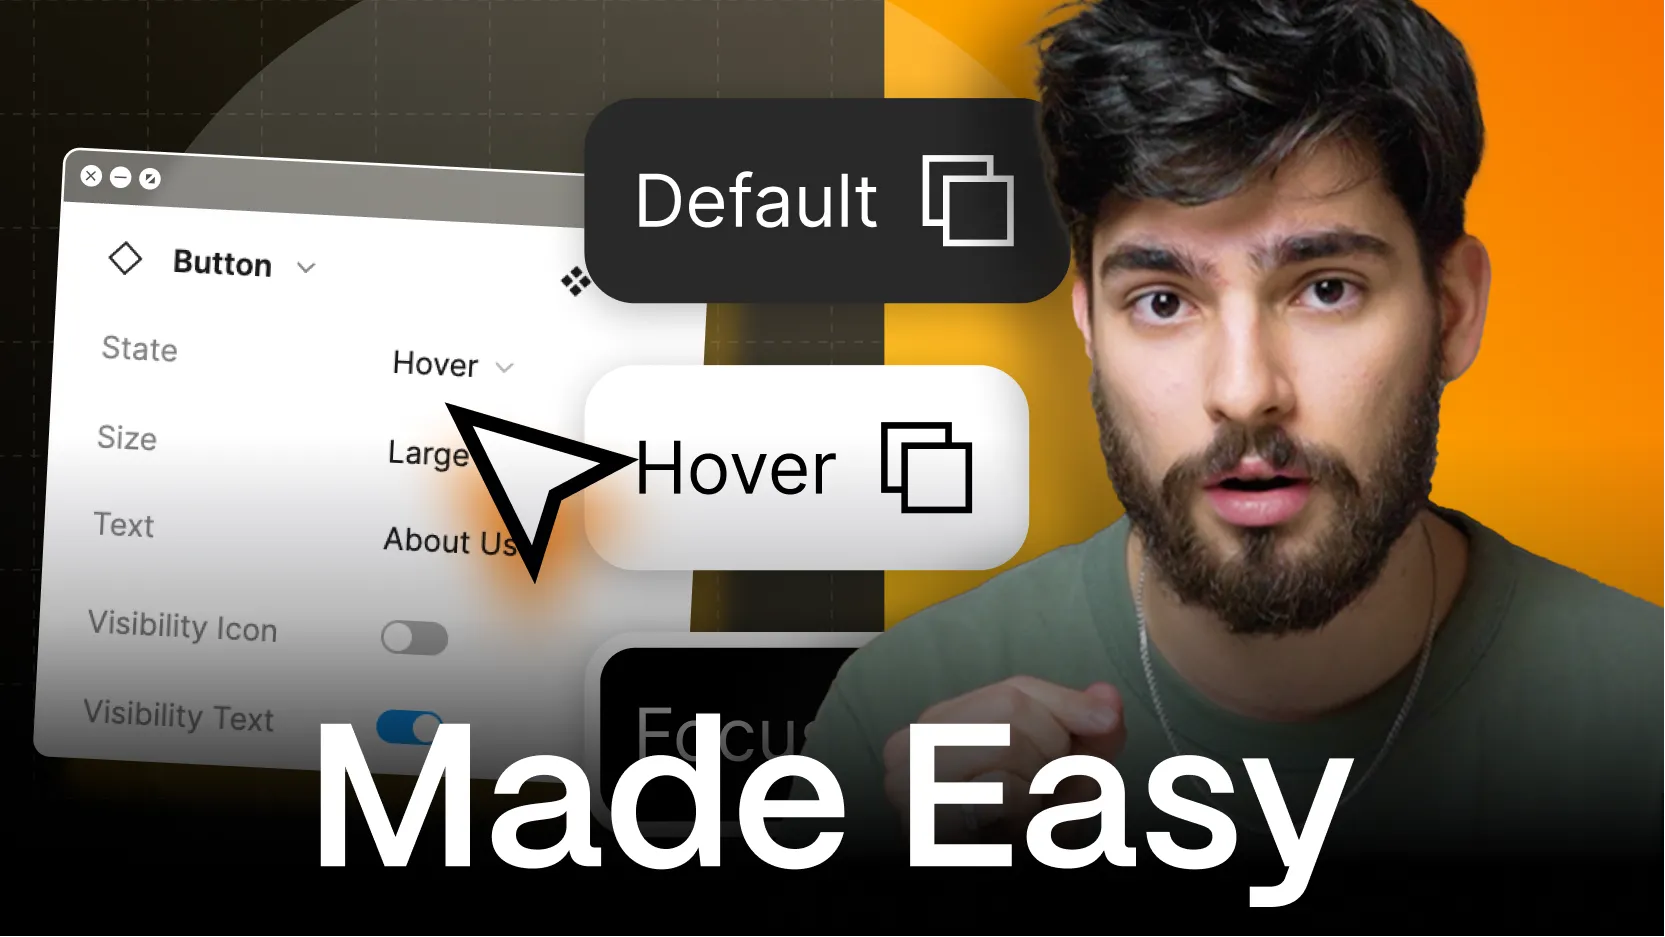


If you're not utilizing Auto Layout in your Figma designs, you're missing out on a powerful tool that can significantly enhance your efficiency. In this tutorial, we'll delve into everything you need to know about Auto Layout in Figma, empowering you to design websites in record time. Let's dive in!
Figma Auto Layout replicates CSS and HTML layout behavior in the design phase, letting you control spacing, alignment, and positioning before development. Start by creating a fixed-width frame (typically 1440px for desktop) and press Shift + A to apply Auto Layout, then stack elements vertically or horizontally, adjust padding and alignment, and use absolute positioning to fine-tune placement within frames. This keeps designs structurally sound and consistent while speeding up the workflow.
Part of our guide: Design Skills & Career
Need Figma work done rather than taught? The Design Partner subscription covers Figma design and Webflow builds for a flat monthly fee.
Auto Layout in Figma aims to replicate the layout capabilities of CSS and HTML, but in the design phase. It allows you to arrange elements with precision, control spacing, and easily adjust positioning, resembling the behavior of real-life websites. Think of it as a pre-emptive design approach that ensures your designs are structurally sound before transitioning to development.
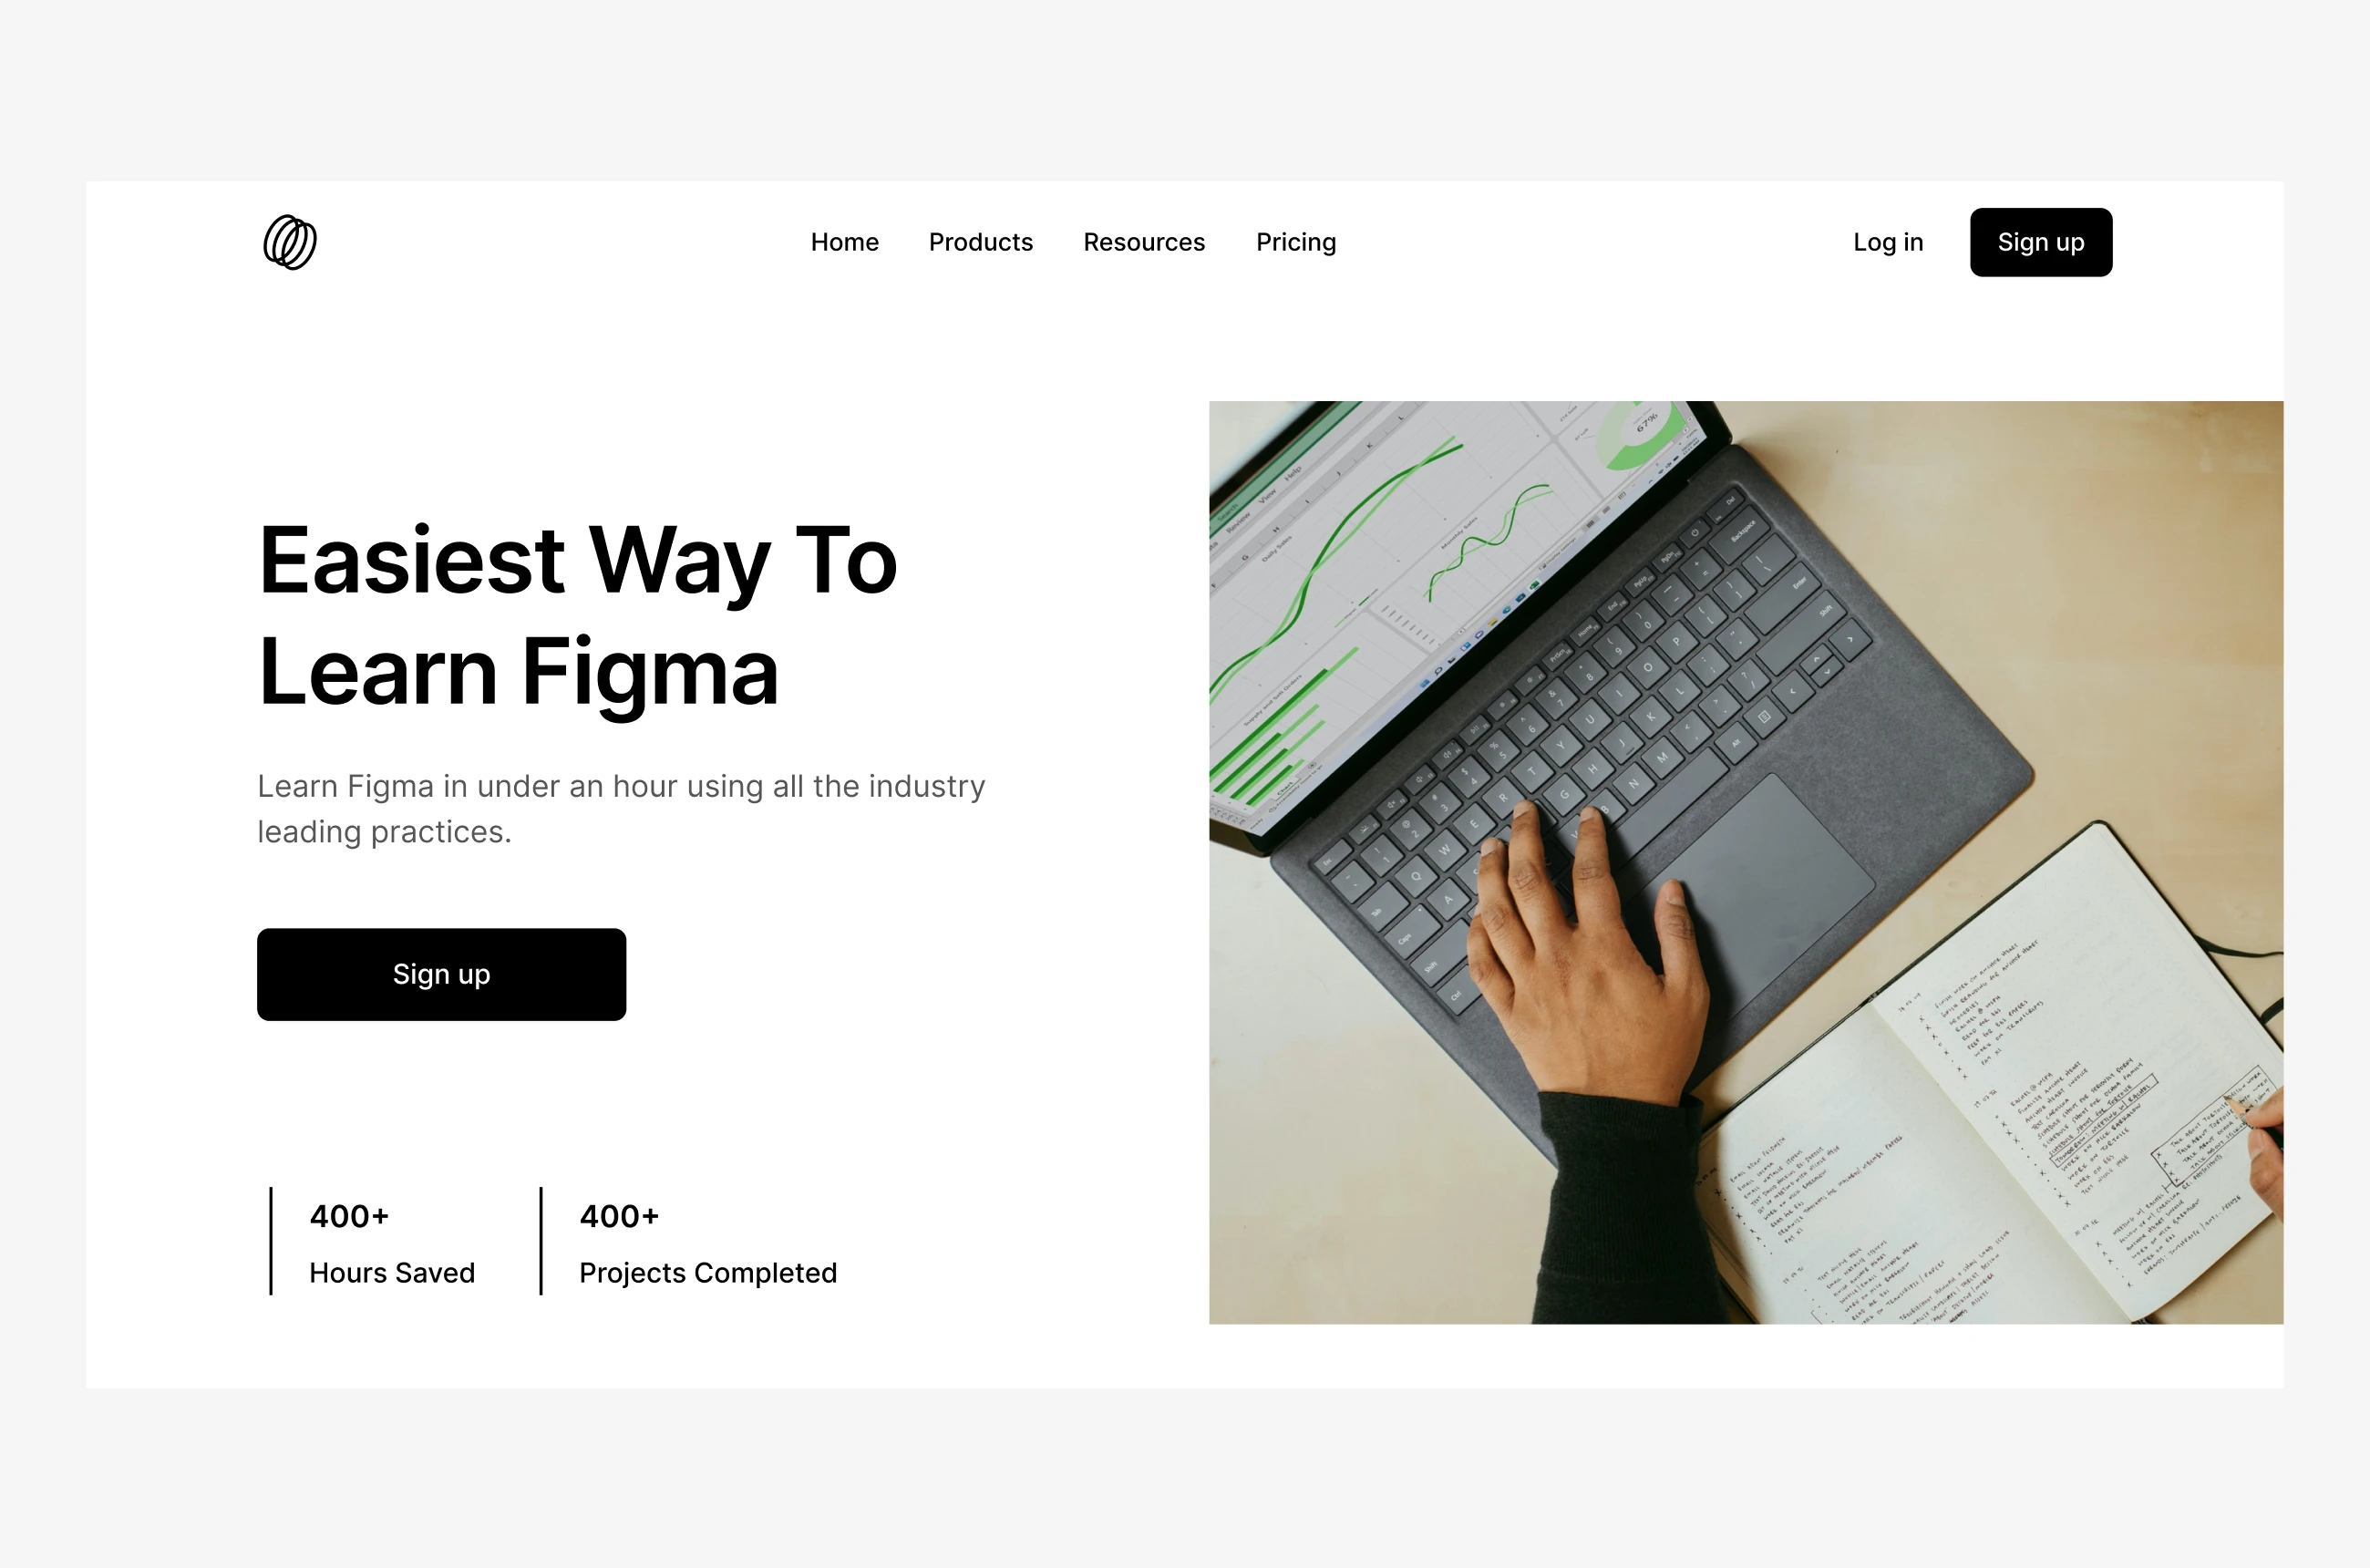
Begin by creating a frame with a fixed width, typically 1440px for desktop designs. Utilize the Shift + A shortcut to initiate Auto Layout. This step ensures a structured canvas for organizing your design elements seamlessly.
Divide the frame into sections for images and text. Use Auto Layout to stack elements vertically or horizontally, ensuring consistent spacing and alignment. This approach simplifies the process of arranging content blocks and maintaining visual harmony.
Utilize Auto Layout for text elements, adjusting padding and alignment to maintain a cohesive layout. By incorporating Auto Layout for text blocks, you can easily accommodate varying text lengths while preserving the overall design integrity.
Incorporate buttons and icons using Auto Layout, ensuring consistent sizing and alignment across different elements. By leveraging Auto Layout for interactive components like buttons, you can streamline the design process and maintain visual consistency throughout your project.
Use padding and alignment options within Auto Layout to refine the spacing and positioning of elements, achieving a polished design.
Explore advanced techniques like absolute positioning to fine-tune element placement within Auto Layout frames. This feature allows precise positioning of elements within a frame, mimicking absolute positioning in CSS.
By harnessing the power of Auto Layout in Figma, you can streamline your design process, maintain consistency, and achieve professional-looking website designs with ease. Whether you're a beginner or an experienced designer, mastering Auto Layout is essential for optimizing your workflow and producing high-quality designs efficiently.
Thank you for joining this tutorial on mastering Auto Layout in Figma. With these techniques, you're equipped to tackle complex website designs and unleash your creativity.